How to Restring a Wind Chime: Easy Upgrade For Your Old Wind Chime
Are your wind chimes sounding a bit off lately? Perhaps they’re not ringing as clearly or loudly as they used to. It may be time to restring them.
Reader-supported: if you buy through links on this page we may earn a small commission, at no extra cost to you.
Restringing your wind chime is a simple and affordable way to bring new life to your outdoor decor.
Not only will it improve the sound quality, but it will also prolong the life of your chimes by preventing damage from wear and tear.
Why Should You Restring Old Wind Chimes?
Over time, weather and wear and tear can cause the strings to fray or break. By restringing them, you can bring back that beautiful melody they had in the first place.
Not only will restringing your wind chimes improve their sound, but it can also extend their lifespan. When the strings are old and worn, they can break.
Restring them ensures that they will continue to withstand the elements.
Plus, it’s a fun DIY project you can do yourself or with family.
Step-by-Step Guide to Restringing Your Wind Chimes
1. Remove the Old Strings
Before restringing your wind chimes, you need to remove the old strings.
To do this, lay the pieces flat on a table and gently pull each string segment through the holes in your chimes. You may need to use scissors to cut any stubborn or damaged strings.
Removing all the old strings, even if only one piece of string is damaged, will help the chimes hang evenly from the top ring.
Once all the old strings are removed, carefully lay the chimes out flat in the same order as they were strung together.
2. Choose the String
When restringing an old chime, choose a strong and durable type of string that will protect the chime from wear and tear in the future.
Synthetic strings like polyester fiber, nylon cord, or fishing line are recommended over natural fiber strings that may have been used in the past.
Archery string is also an option, with varying grades that can hold up to 100 pounds, making it ideal for larger wind bells made of metal.
A nylon cord or fishing line is more affordable, but a thicker grade for added strength might be a good option.
Before purchasing, ensure that the chosen string is the right size to fit through the holes in the chimes.
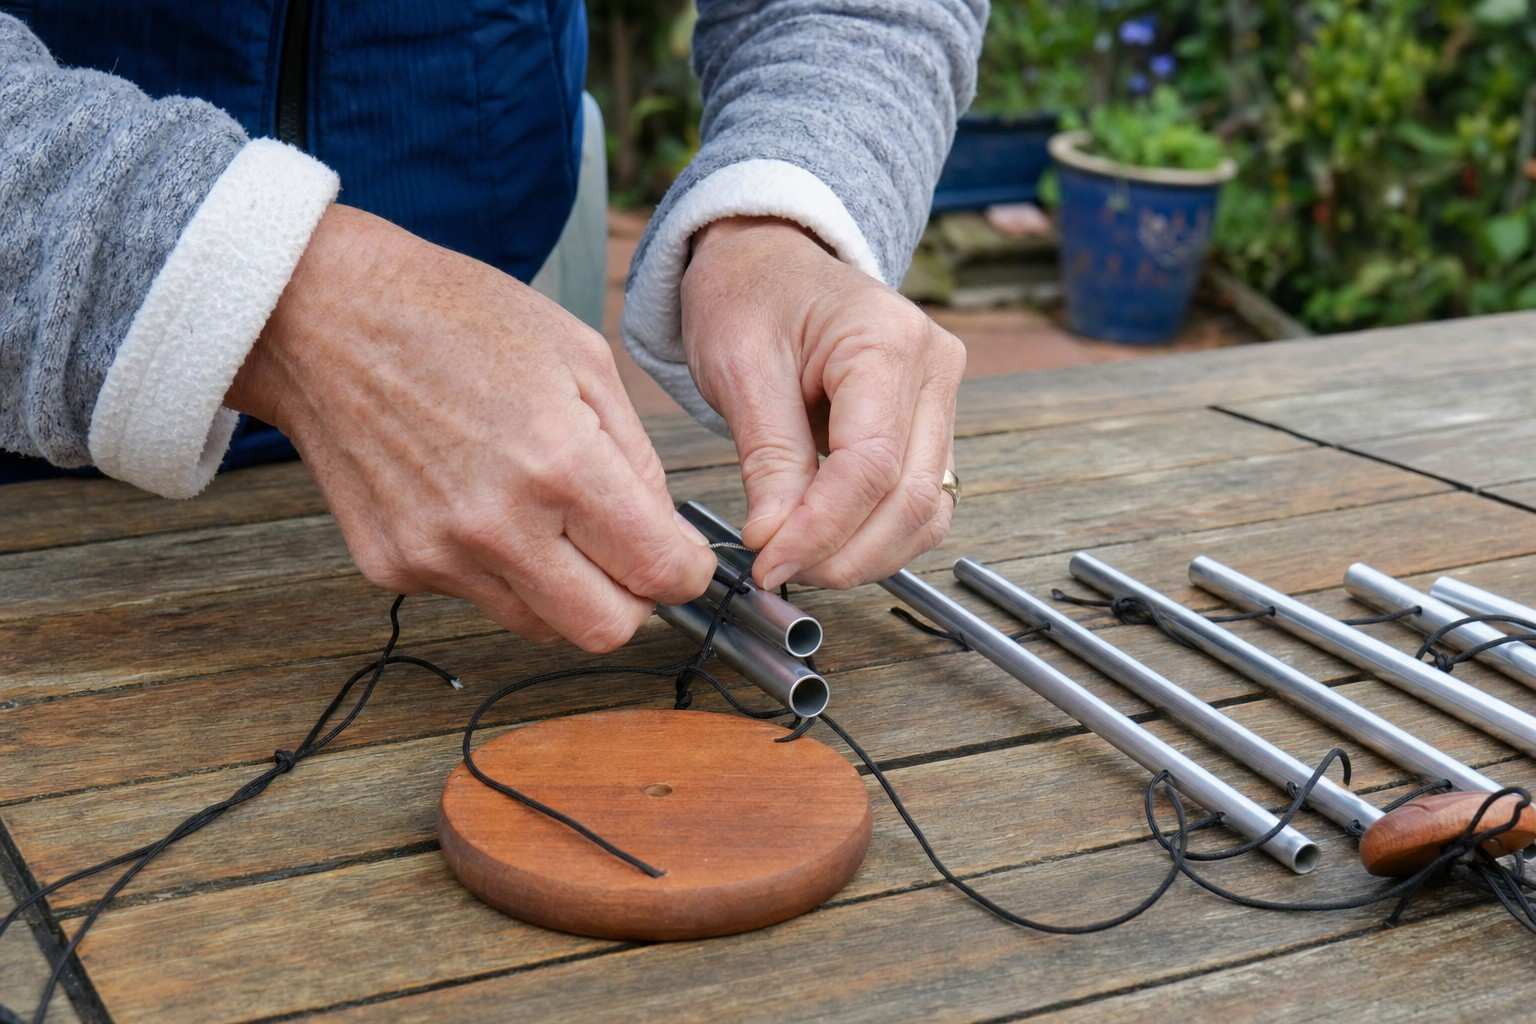
3. Start Restringing
Now that you’ve removed the old string from your chime, it’s time to restring the tubes. The process is pretty straightforward: simply use a new string and string the tubes in a similar fashion to the old string.
However, you can try some tricks if you have difficulty getting the string through the small holes.
One option is to use an upholstery needle with an eye large enough for your string to fit through.
Alternatively, you can use a pair of needle-nose tweezers to help you pull the string through with your fingers.
4. Tie the String
Next, it’s time to tie the strings in place. You’ll need a strong knot that can withstand wind and weather.
The “single overhand” or “figure 8” knot is the most recommended.
You can use glue to secure the knot.
5. Test
Before permanently hanging your wind bell, test that it works.
You can hang it temporarily to ensure the tubes are at the right height.
Then, tap each tube with something hard, like a spoon, to test the sound.
This will help you determine whether any adjustments must be made before hanging in its permanent location.
6. Hang
Now it’s time to hang the wind chime. Choosing a location where the breeze gently moves the tubes without the risk of stronger winds is a good idea.
Consider bringing it inside during stormy weather or when temperatures drop significantly to prevent damage.
Alternative Options for Restringing Wind Chimes
Some people use decorative ribbons or twine for a unique look.
Some manufacturers offer replacement string kits specifically designed for their chimes.
And you can find many replacement parts to repair broken wind chimes on Amazon and Etsy.
How Can I Protect a Wind Chime From String Damage?
You can protect your chime from string damage by using a durable, weather-resistant material for the string, such as nylon or wire.
You can also regularly inspect the string for signs of wear and replace it as needed before it becomes too damaged.
Additionally, you can hang the wind bell in a protected area, such as under a covered porch or in a tree with thick foliage, to reduce exposure to harsh weather conditions.
The Bottom Line
Restringing a wind chime can be a simple and rewarding DIY project.
Remember to take your time and be patient, as restringing can be a delicate process.
With a little effort, your wind chime will return to its former glory in no time.
Read more: Will wind chimes keep birds away